Check Your Inventory
Step 1: Access Inventory
- Navigate to your left-hand dashboard and select "Inventory."

Step 2: Review Materials Inventory
- Ensure you are on the "Materials Inventory" tab.
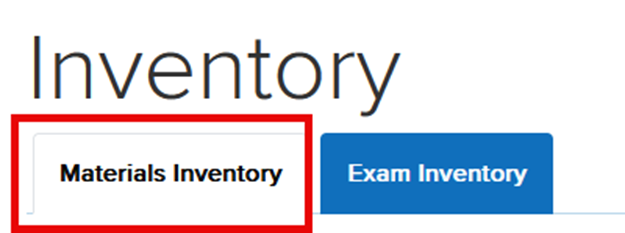
- Check the available resources to confirm that the necessary materials for your students are in stock.

- Look for a notification indicating if any materials are unavailable.
![]()
- Verify that the "Payment Model" column states "Inventory" if you plan to purchase and distribute materials on behalf of your students.

Create a Course
Step 1: Navigate to Courses
- Click on "Courses" in your left-hand dashboard.

Step 2: Initiate New Course Creation
- Select "New Course."

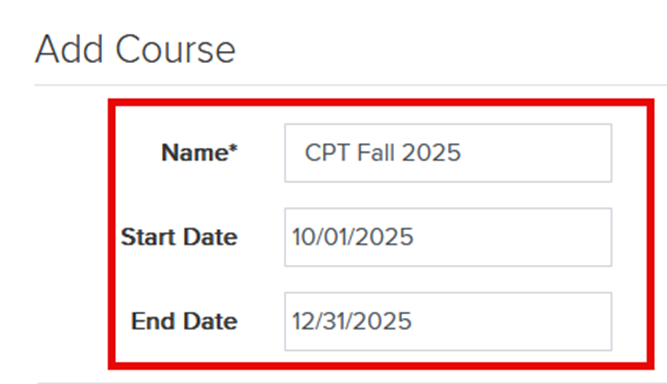
Step 3: Set Up Course Details
- Enter a course name or date that helps students easily identify the course.
- Example: "CPT Fall 2025."
- Specify the course duration (e.g., starting at the beginning of October and ending in December).
Step 4: Select Course Resources
- Choose the resources to include in the course. For example, select "Yes" for the Patient Care Technician study guide and practice tests.
- Set all other resources to "No."

Step 5: Create the Course
- Click "Create Course" to finalize and make the course available for student enrollment.
